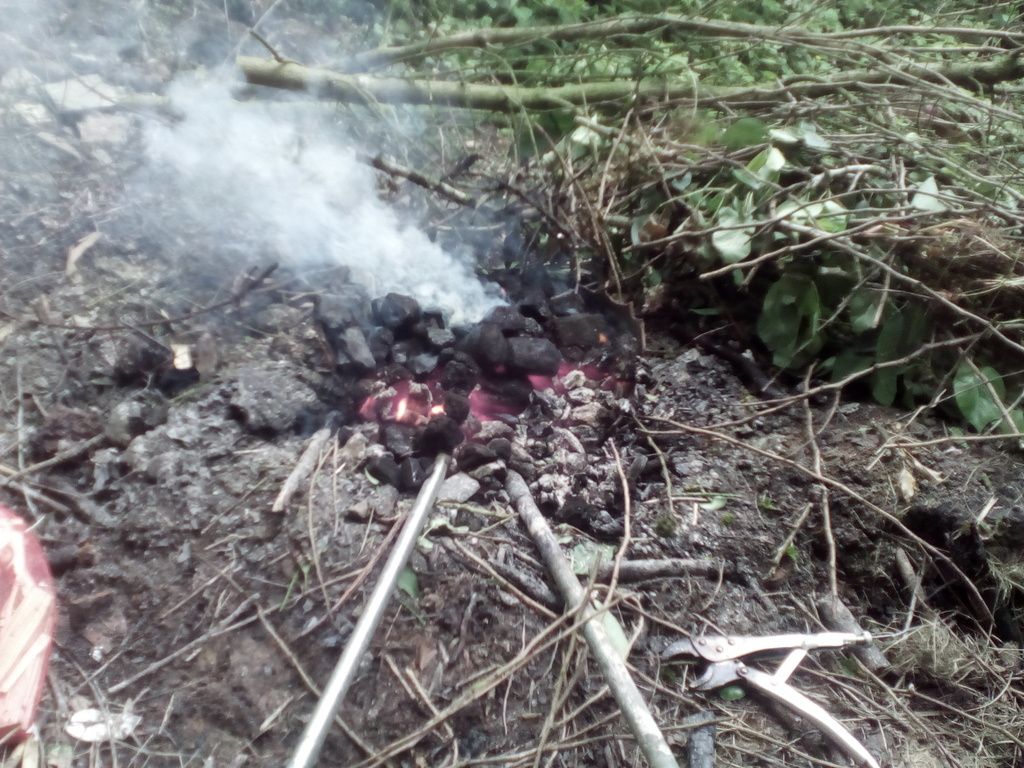
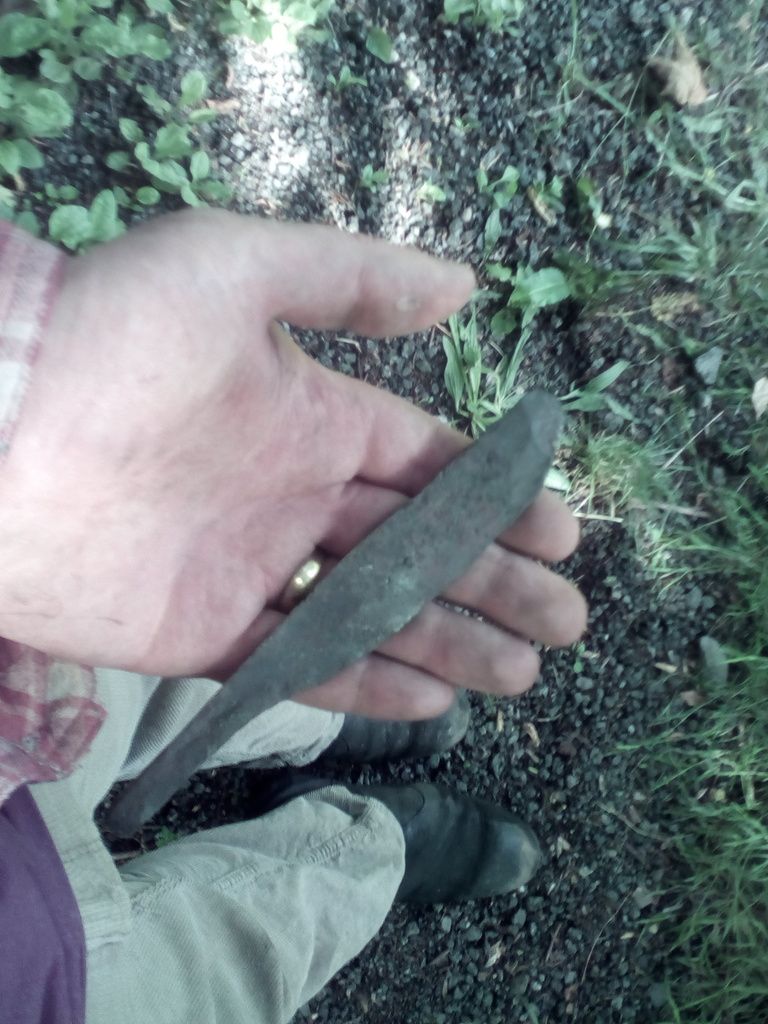
Been having a bit of a play this year - trying to make something useful out of bits of rusty scrap, without spending money on equipment etc (because y'know, student). I have hammers etc, and a bench grinder. I used a hole in the ground as a 'forge' and a scrounged bit of I-beam as an anvil.
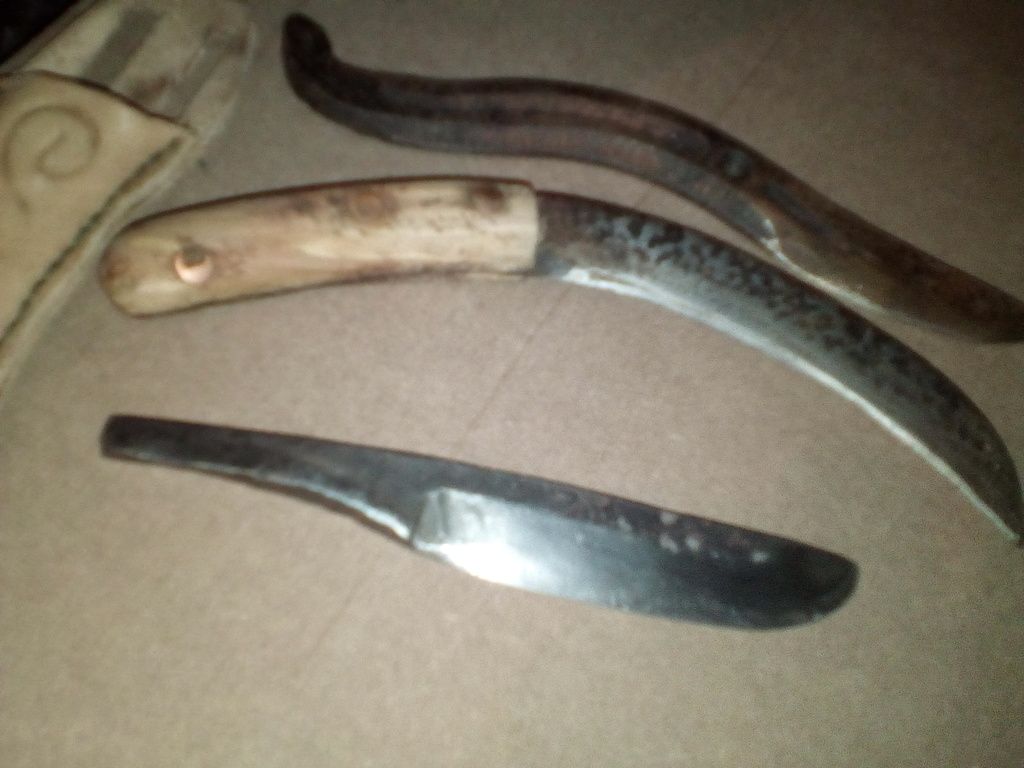
^ Blade on bottom is what I'm working on now. Other bits were made from some bit of steel I found on a tumbledown barn, and an old horseshoe. None of this is good steel, so doesn't harden particularly well to hold a good edge, and the craftmanship is 'rustic' to put it nicely, but I think I've learned a useful post SHTF thing or two, and had some fun.
Experiments in skint blacksmithing
Re: Experiments in skint blacksmithing
Wow ! You've given that a lot of thought and effort, fair play.
As an aside, what did you use to put the pictures up ? I for one am a bit stunned with that kind of stuff.
-
- Posts: 6
- Joined: Tue Nov 29, 2016 2:54 pm
Re: Experiments in skint blacksmithing
Thanks Deeps! I just used Photobucket, which is full of ads and clunky, but free.
Re: Experiments in skint blacksmithing
Nicely done, we experimented a few years back with some Land-Rover springs, took some heating and hammering.
Two is one and one is none, but three is even better.
-
- Posts: 1379
- Joined: Sat Dec 29, 2012 9:48 pm
- Location: Area 11
Re: Experiments in skint blacksmithing
Amazing . Well done m8 . FYI horse shoe steel is quite soft . I know we go through them every 7-8 weeks depending on work load on the horses .
Not sure the hardness of it but a rasp will remove metal.
Anyone want a horseshoe or 20 .....
J
Not sure the hardness of it but a rasp will remove metal.
Anyone want a horseshoe or 20 .....
J
Be Prepared.
Plan like its the last loaf on the shop shelves.
Plan like its the last beer in the fridge.
Plan like its the last loaf on the shop shelves.
Plan like its the last beer in the fridge.
-
- Posts: 6
- Joined: Tue Nov 29, 2016 2:54 pm
Re: Experiments in skint blacksmithing
Code: Select all
Tapoppypiesdad wrote:Amazing . Well done m8 . FYI horse shoe steel is quite soft . I know we go through them every 7-8 weeks depending on work load on the horses .
Not sure the hardness of it but a rasp will remove metal.
Anyone want a horseshoe or 20 .....
J
Yeah it's not ideal - tbh none of the steel I used was. At a guess it was all mild steel of some kind or other. I think I read somewhere that it can pick up a little carbon from the coals - sort of a coat of slightly higher carbon - but it still doesn't harden well.
But... They'll all cut, even if they dull quickly, and the practice I got could help me to make something better? Maybe with spring steel like pseudonym said.
The whole thing was sort of an experiment on what you can do with minimal kit and experience - aiming of a sort of basic self sufficiency - if it comes to it, anyone can make a tool, and use that took to make a better tool, and so on
Re: Experiments in skint blacksmithing
Would you mind letting us know how you did that? What sort of vessel did you use to melt the metal in? What materials did you make the molds from? Or did you rather heat the metal up until it was maleable and then beat and hammer it into shape?
=======
Area 8
=======
=======Plymton wrote:Klingon ass scratcher
Area 8
=======
-
- Posts: 6
- Joined: Tue Nov 29, 2016 2:54 pm
Re: Experiments in skint blacksmithing
No melting - cast steel would be a terrible knife, and the melting point of steel is much higher than I'd be able to get it.sethorly wrote:Would you mind letting us know how you did that? What sort of vessel did you use to melt the metal in? What materials did you make the molds from? Or did you rather heat the metal up until it was maleable and then beat and hammer it into shape?
I'm very very far from an expert (or competent amateur) on blacksmithing, and I'm sure there are people on the forum who could give lots of very good tips, but here's what I did/learned:
1 - Heat the steel; I used a shallow pit full of burning charcoal which I blew air into through a pipe, using an old airbed pump I had.
2 - When steel is glowing, hammer it into shape - I found it's better to move the piece of metal and to keep the hammer in the same place rather than vice versa. Periodically re-heat the steel as it cools down and stops glowing.
3 - When you've shaped it, let it cool and then clean up your shoddy work with files/grinders.
4 - When that's done and you're happy with the shape, heat it up again until it won't stick to a magnet or you can see it's glowing a bright red, and then stick it into a pot of oil (or water in a pinch) to cool it very quickly - this'll harden it.
5 - The steel is now hard but brittle. Stick it in the oven on a high heat for an hour or two (google for more exact tempering advice!) to reduce the hardness slightly but add more flexibility.
That's more or less my understanding of it! But there's a lot of very good youtube videos by people with more knowledge that explain things very well. Or probably some smiths on the forum?
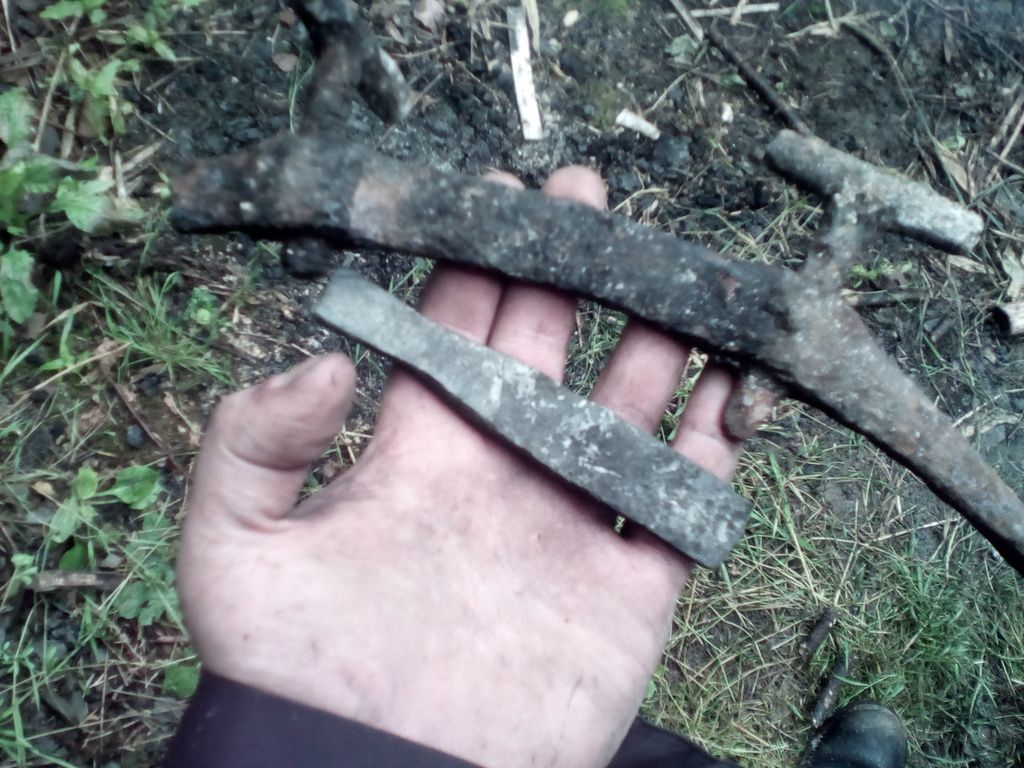
Re: Experiments in skint blacksmithing
Thanks for the pointer, I'll take a look at that, patience with IT isn't one of my virtues though so I might end up spitting my dummy out and getting missus Deeps to set it up for me.wheresthefife wrote:Thanks Deeps! I just used Photobucket, which is full of ads and clunky, but free.
Re: Experiments in skint blacksmithing
Thanks wheresthefife, congrats on learning new skills!
=======
Area 8
=======
=======Plymton wrote:Klingon ass scratcher
Area 8
=======